Are you looking for the easiest pillowcase tutorial that produces perfect results every time? You’re in the right place! This pillowcase is so adorable and perfect for anyone! A few weekends ago my mom and I got together with my nieces who have never used a sewing machine: and we finished three pillowcases is just a few hours (with practice sewing and interruptions of course!). They loved playing on the sewing machine and creating something so beautiful, practically all on their own! 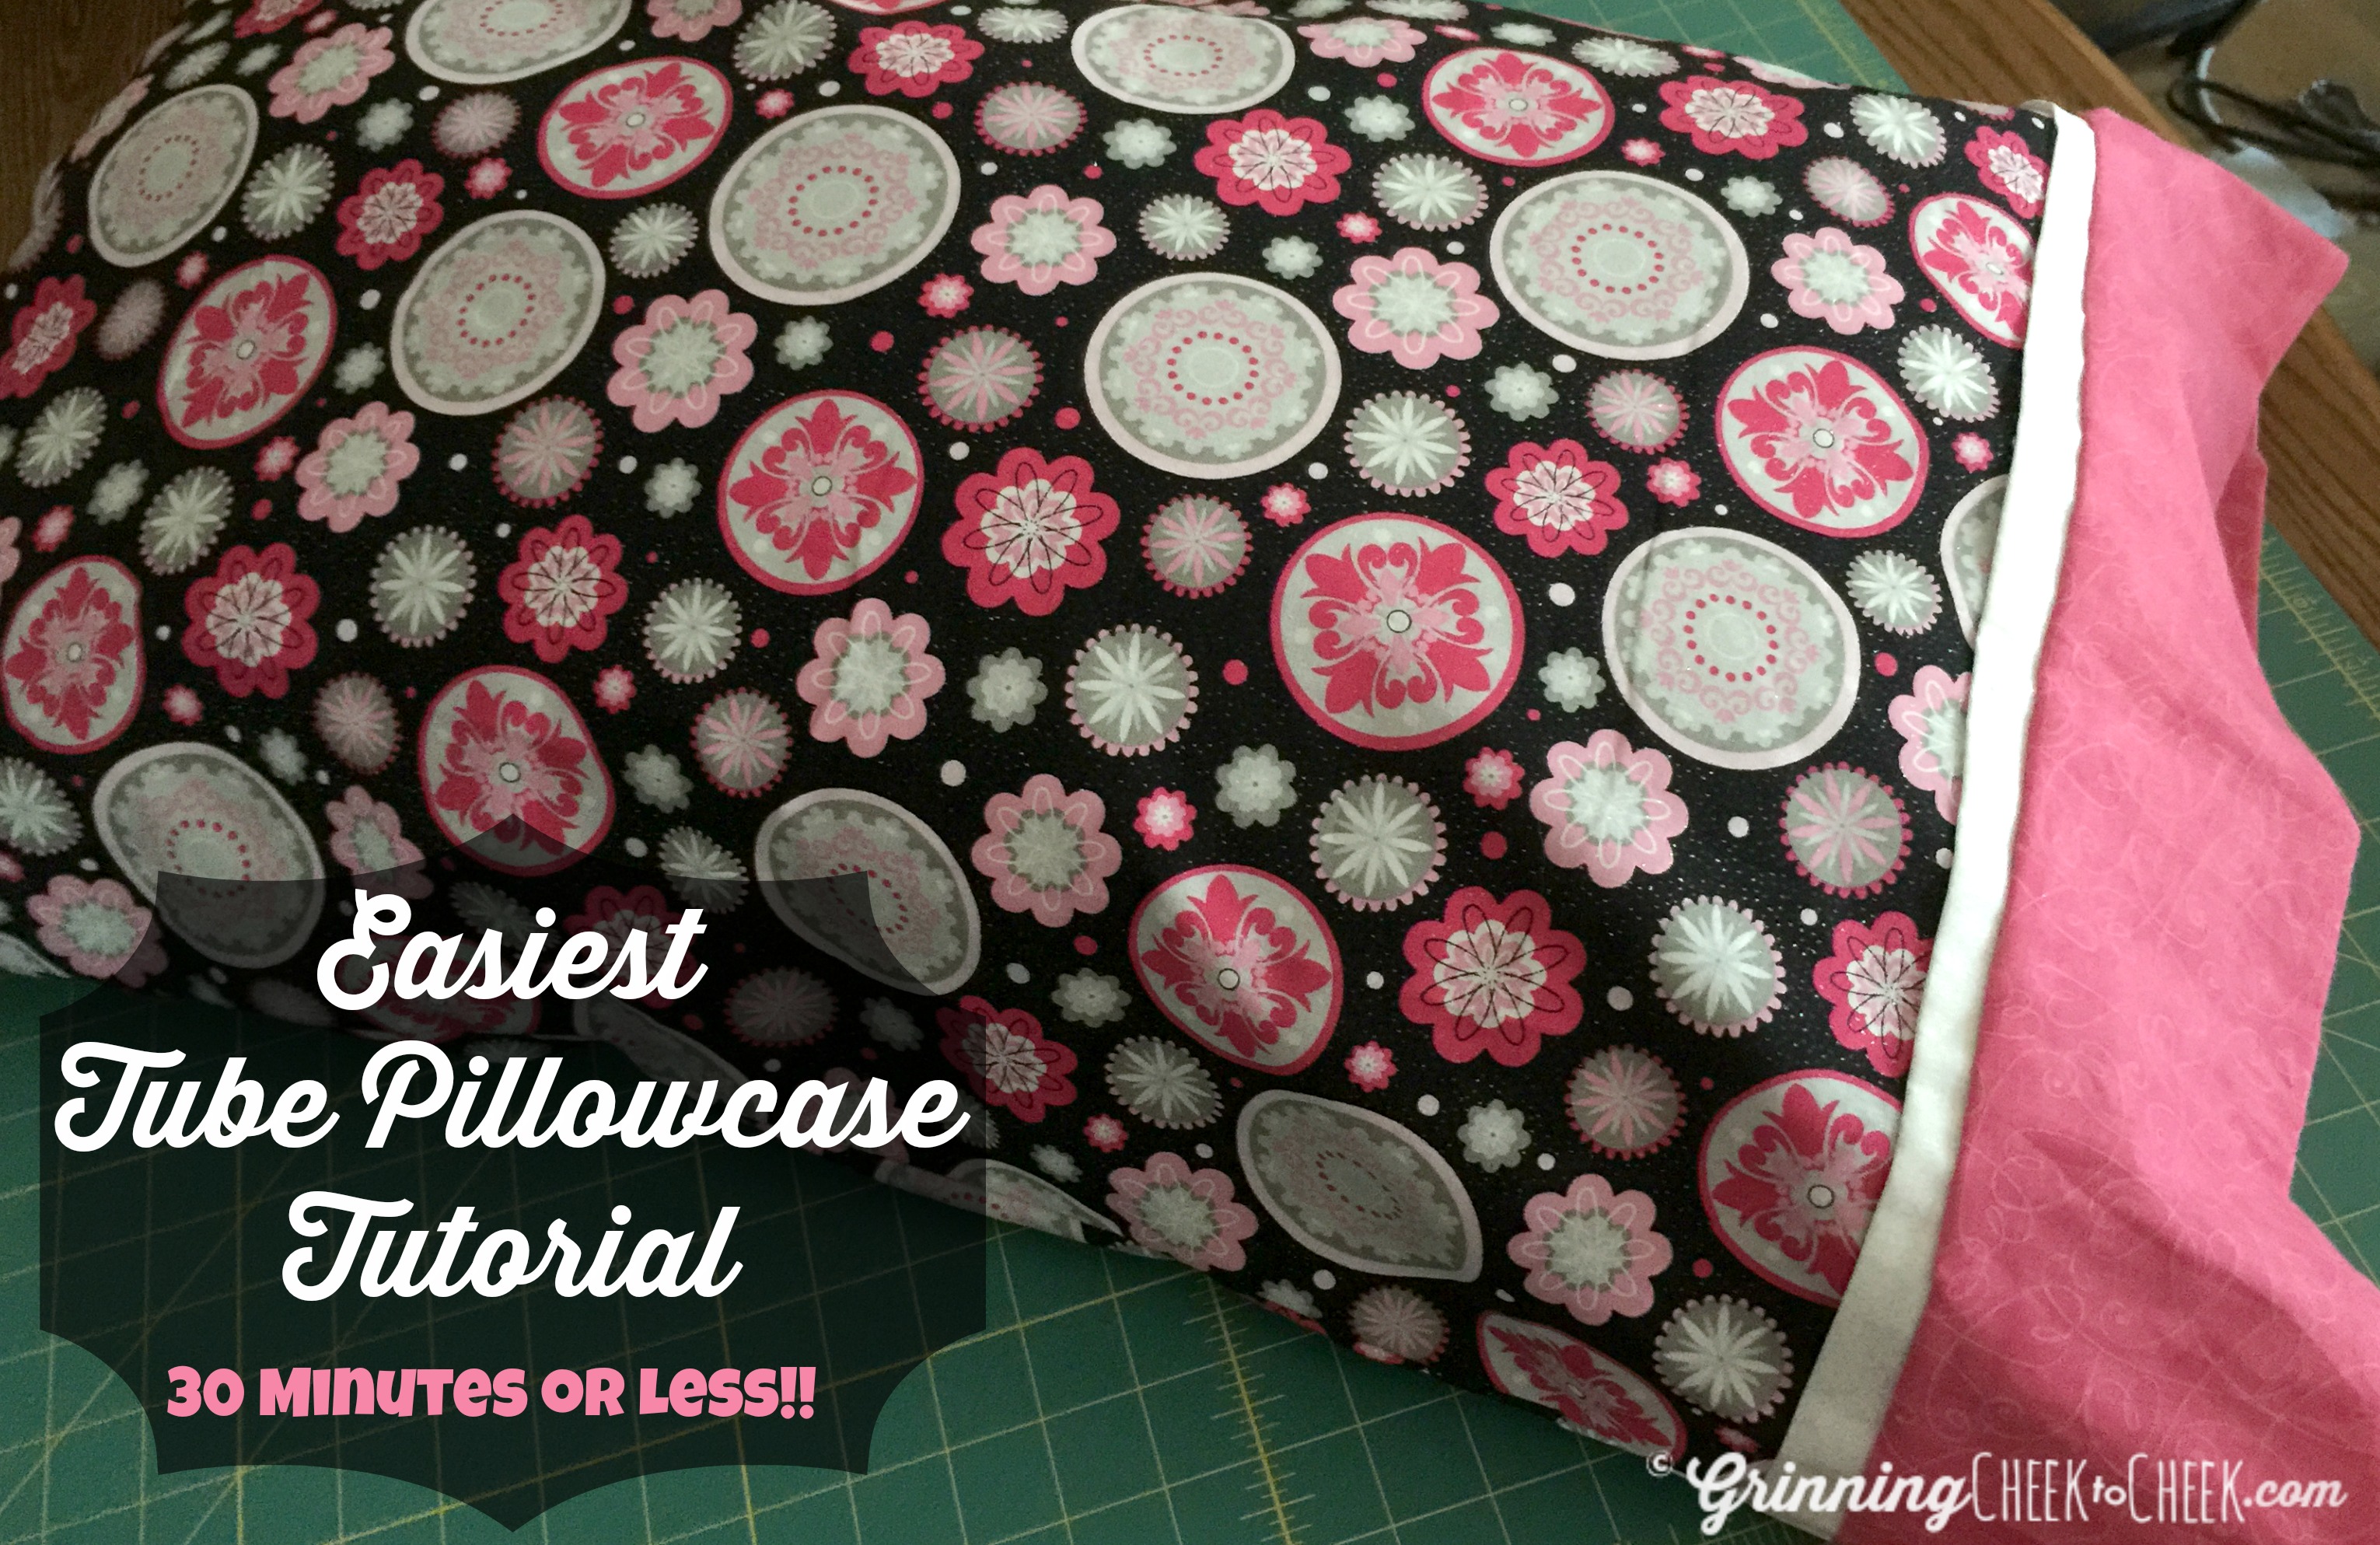
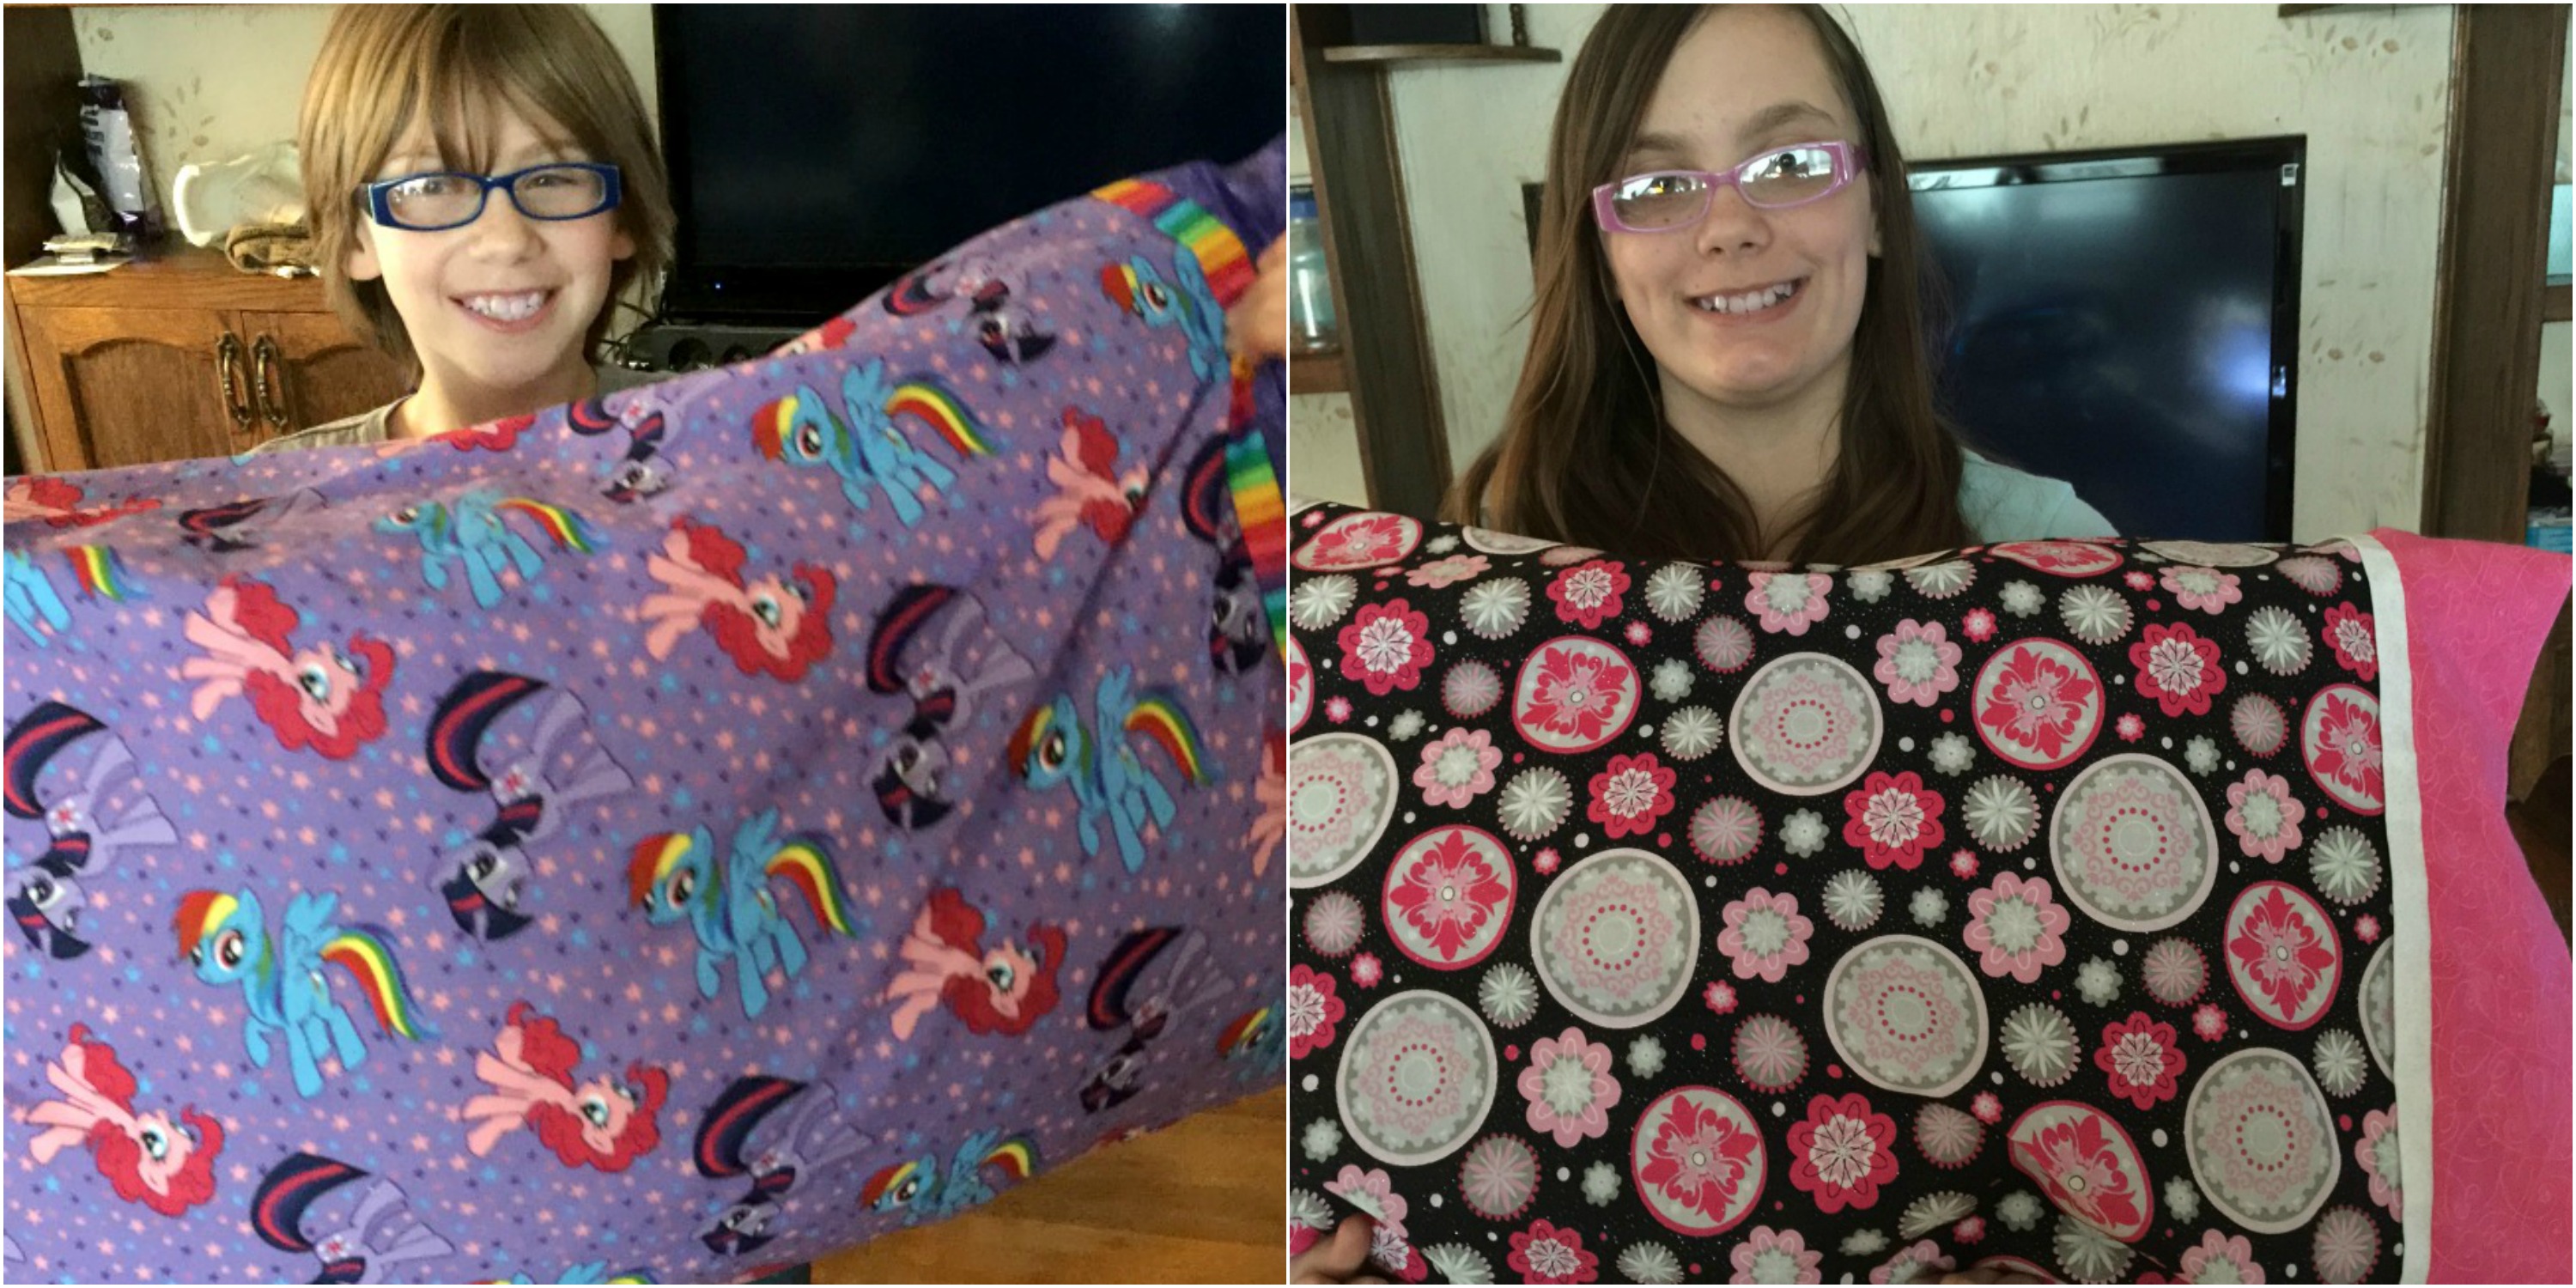
These tube pillowcases make for the best christmas presents, birthday presents, and just the right touch to finish that perfect bedspread you just made! Our first step of course was to head up to the fabric store and pick out three coordinating fabrics. My oldest niece knew she wanted pink, black, and white – as that is what she just picked out for her new bedspread. My youngest loves a bunch of things and went with an open mind. Instantly we found and fell in love with these fabrics for the black/pink/white case – and then my niece saw the My Little Pony fabric and wanted it right away. We figured a rainbow print would be a great match for that – and a fun deep purple to pair.
I didn’t remember that I was taking pictures of this until after we had started the process (too much fun, I guess!) But I’ll fill you in. We got 1 yard of each of the main fabrics, 12″ of the edging, and then 6″ of the middle strip. We over-purchased because the girls wanted to have leftover fabrics and you never really know how straight they are going to be cut when you get home.
The ACTUAL straightly cut dimensions you need are:
Main Fabric: 27″
Middle Band: 2″
Cuff Fabric: 9″
To start – you cut your fabrics to the above widths. Finish up by laying them all on top of each other and cutting the salvages off to make them an even height. When these are all cut, you’ll head over to the ironing board. This is when I started photographing. (Bad Blogger!)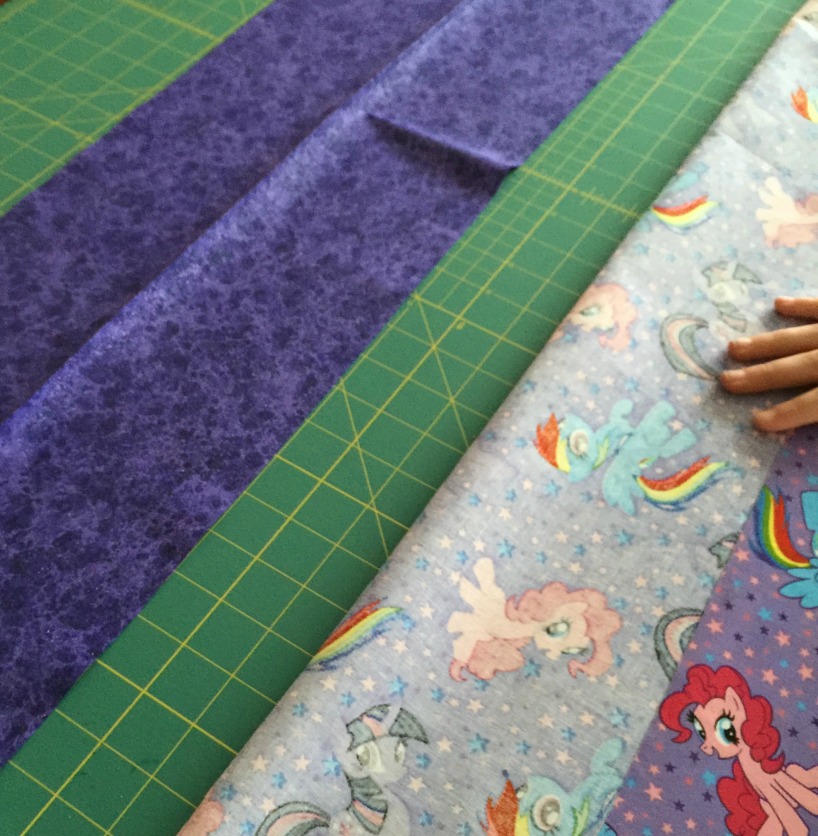
Take the 9″ cuff and the 2″ cuff and iron them in half. Be sure that the pretty sides are up! Then head back to your cutting board area. 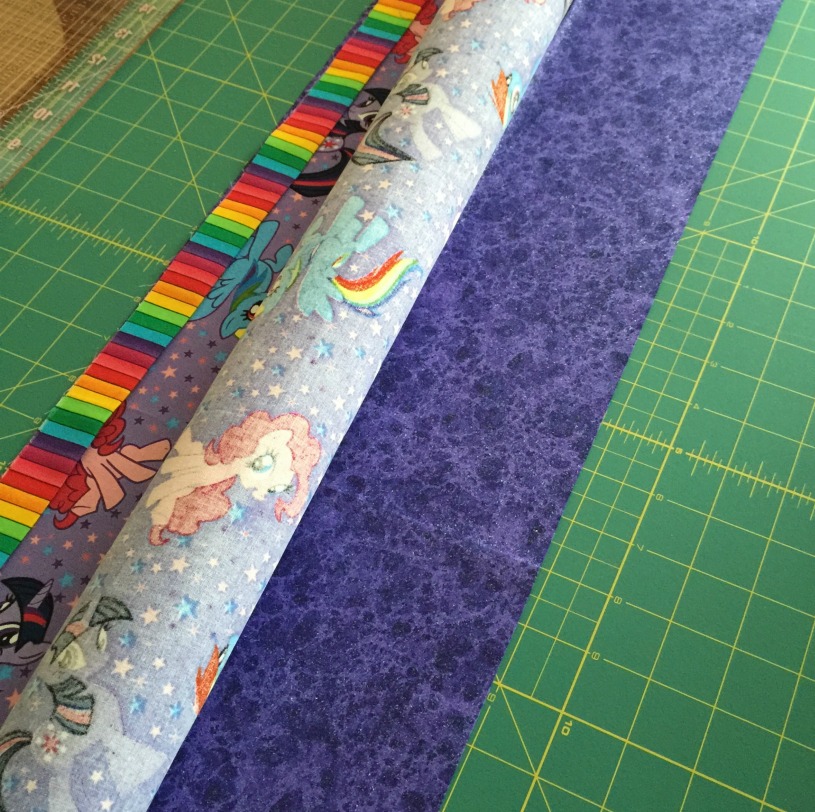
Open up the 9″ piece so it’s long and flat – face up with the raw edges at the top. Match up the raw edge of the 27″ piece, face up on top of the 9″ piece. Then add the 2″ piece folded with raw edges up again.
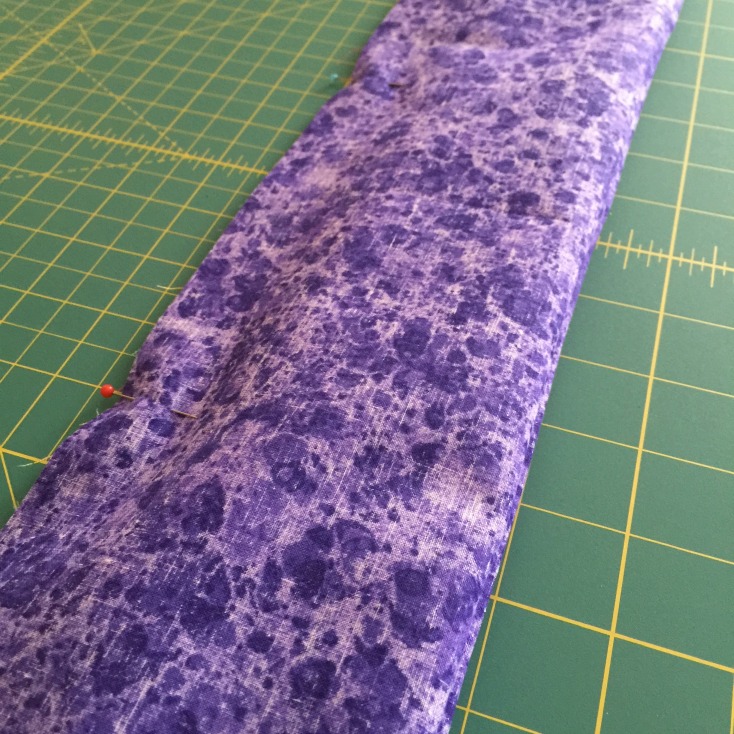
After they’re all laying raw edges together – start from the bottom of the 27″ piece and roll it (semi-tightly) up towards the top. Don’t pick up the 9″ fabric with it – we want that to be able to fold over the top of the ‘tube’. Fold the bottom edge of the 9″ piece up to the other raw edges. Pin these raw edges together – this is where you’ll be sewing, but we need to be sure they stay together! 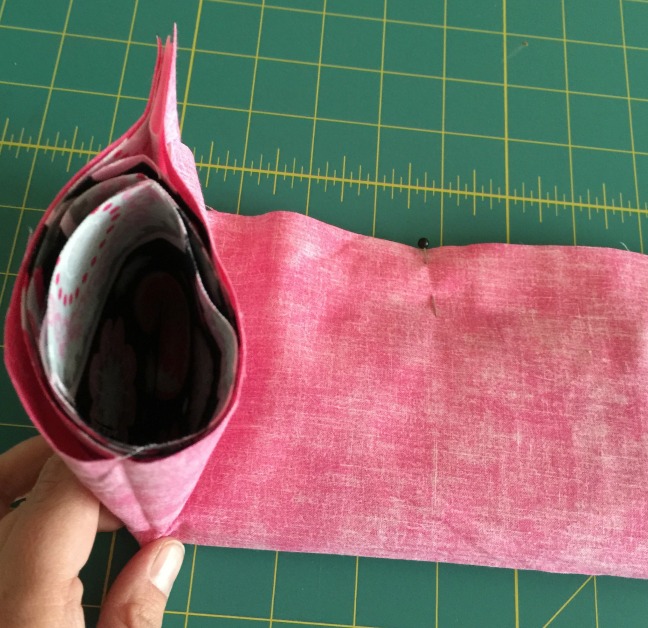
When they’re all pinned up it should look like the photo above. Raw edges pinned together and the tube inside. Then you’re ready to sew! Sew with 1/4″ seam along the pinned raw edges. Then the tricky part. Pull the inside tube out from the outer part. It’ll feel at first like you’re doing it wrong – but after a minute it will come right out! 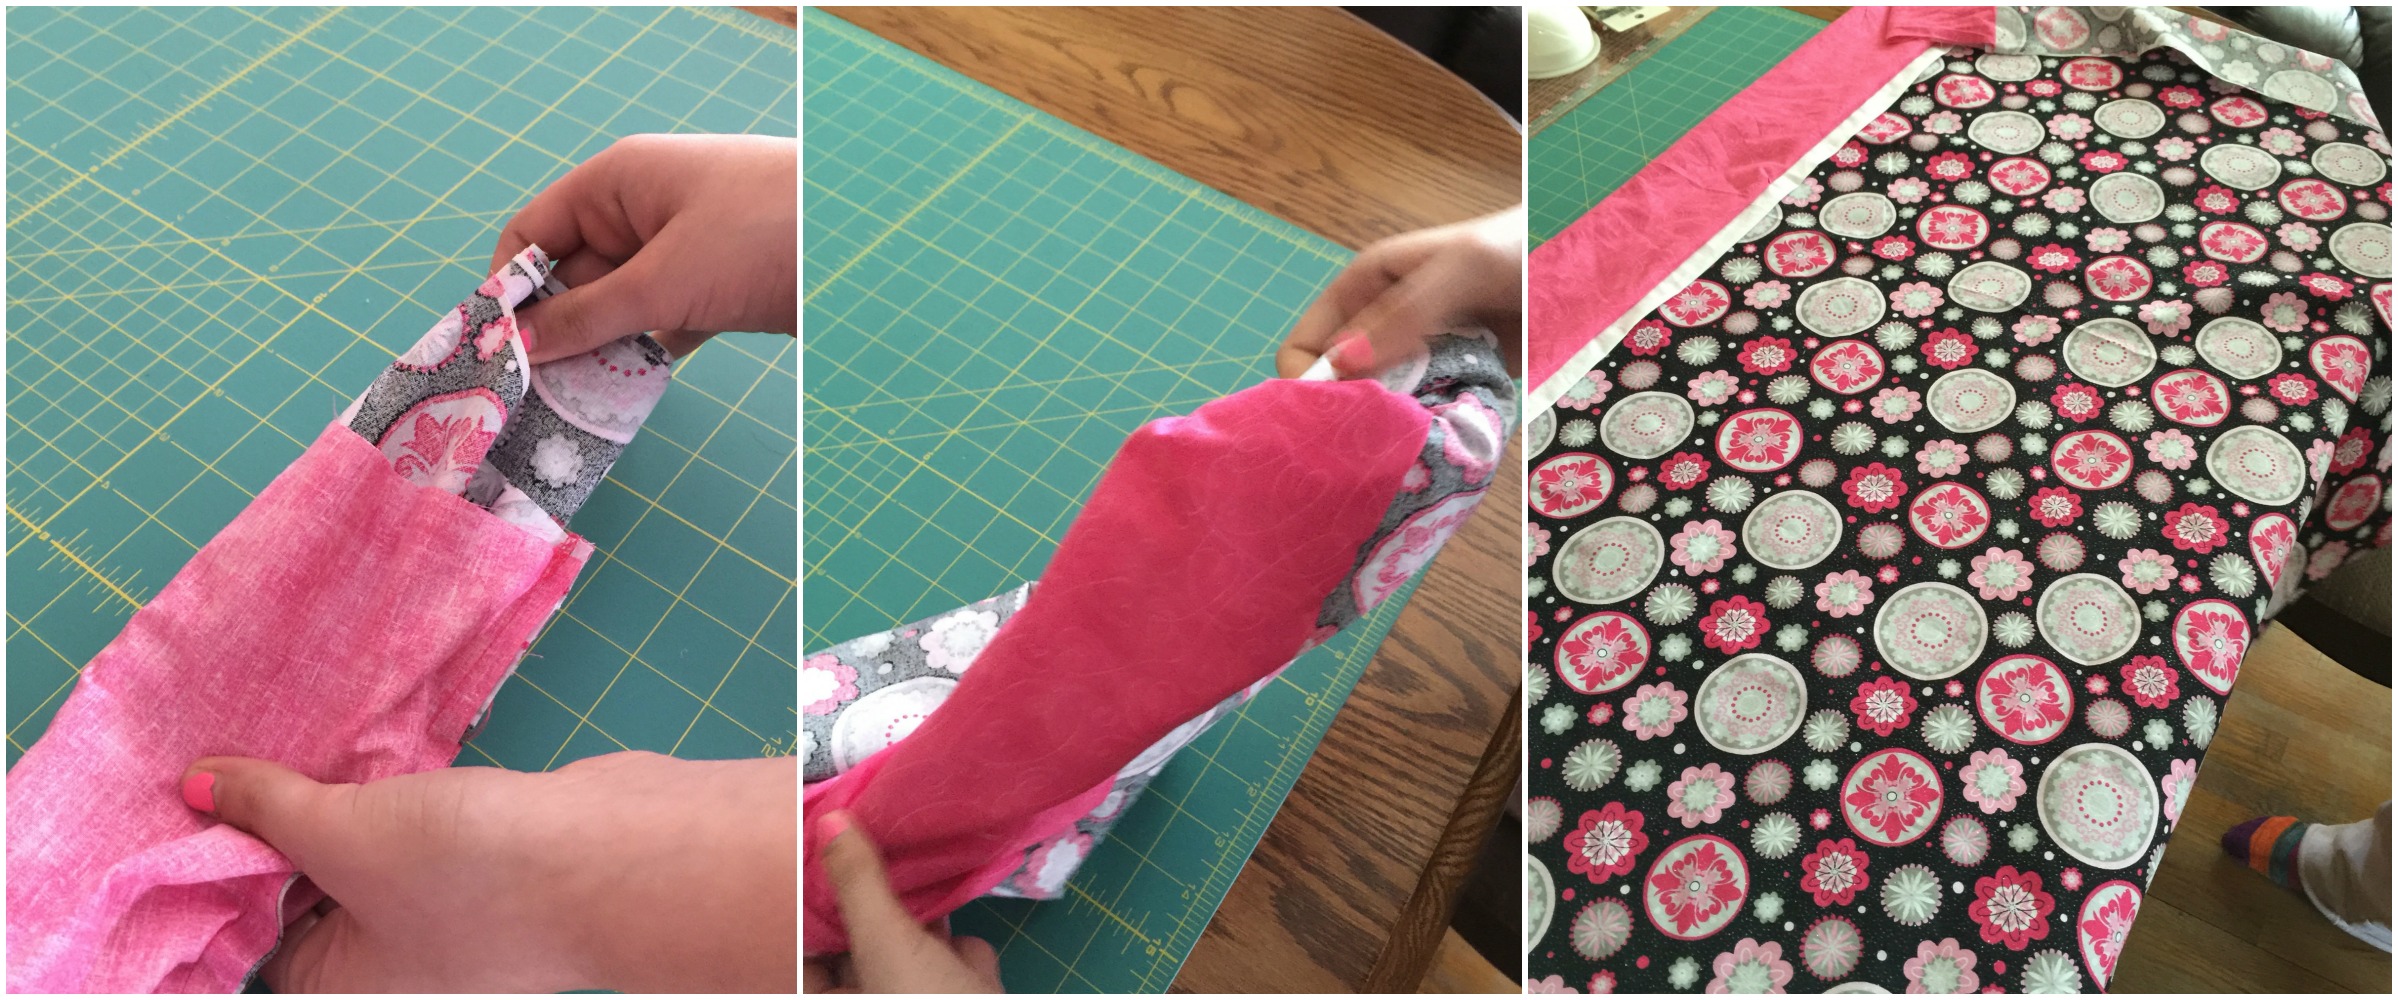
Then you’re ready to finish it up. We have a serger, so we chose to serge the edges together (right sides together) on the side and the bottom that needed to be connected. Important part is really to line up the middle band so that it connects in the right place when sewn together, making a perfect connection. We used pins again to ensure these stayed together since the girls were sewing them.
IF you don’t have a serging machine – you can also do a french seam. First put wrong sides together and sew across with a 1/8″ seam. Then fold it inside out and sew with a 1/4″ seam, just inside of the 1/8″ seam when you fold it right side out again you won’t have a seam.
Enjoy the process!! It’s so simple and so much fun! There was a lady at the store who was buying fabrics for each of her grandkids to make pillowcases for all of them – as they live far away and she wanted a good option to be able to mail them inexpensively! Perfect gift for them. Handmade with love, and easy/inexpensive!
Please let me know if you have ANY questions at all. Fee free to email grinningcheektocheek@gmail.com as I’d likely see that before any comment with a question. Enjoy!
(Yes, I did say we made three! We also made a Transformers one for my oldest son whose BIRTHDAY is today! Happy Birthday Andrew! He’s getting it for his bed, and will be thrilled!!)

This is a really awesome tutorial on making a tube pillowcase. I like how yours turned out! It looks great. I would love to make this after Christmas!
That turned out great! I think the most fun part for me would be picking out which fabric design I’d like to use!
I love the prints your choose, I wonder is I could find minion fabric to make a couple of these. You make It look so easy. Have to try this.
I am lost already just reading it but my girls would have as much fun as these girls did creating something like this
Hello, i think that i saw you visited my website thus i came to “return the favor”.I am trying to find things to enhance my website!I suppose its ok to use a few of your ideas!!
What’s Happening i am new to this, I stumbled upon this I have found It absolutely helpful and it has helped me out loads. I hope to contribute & assist other users like its helped me. Good job.
What i do not understood is actually how you are not really much more well-liked than you may be right now. You’re very intelligent. You realize therefore considerably relating to this subject, made me personally consider it from so many varied angles. Its like men and women aren’t fascinated unless it’s one thing to accomplish with Lady gaga! Your own stuffs excellent. Always maintain it up!
bing bring me here. Cheers!
I have not checked in here for some time as I thought it was getting boring, but the last few posts are good quality so I guess I will add you back to my everyday bloglist. You deserve it my friend 🙂
Hey, you used to write fantastic, but the last several posts have been kinda boring… I miss your great writings. Past several posts are just a little out of track! come on!
Hey! This is kind of off topic but I need some guidance from an established blog. Is it very difficult to set up your own blog? I’m not very techincal but I can figure things out pretty fast. I’m thinking about creating my own but I’m not sure where to begin. Do you have any points or suggestions? Appreciate it